No products in the cart.
If You Feel Like Something Really, Really Bad Is About To Happen, You Are Definitely Not Alone

 If this is “the recovery”, what are things going to look like once economic conditions start to deteriorate again? As you will see below, more than half of all households in some of our largest cities “are facing serious financial problems”, and Americans continue to file for unemployment benefits at a rate that the United States had never seen before prior to 2020. When 695,000 workers filed for unemployment benefits during a single week in 1982, it established a record which stood for nearly 38 years. But now we have been way above that old record for 25 weeks in a row. On Thursday, we learned that another 884,000 Americans filed new claims for unemployment benefits last week…
Weekly jobless claims were worse than expected last week amid a plodding climb for the U.S. labor market from the damage inflicted by the coronavirus pandemic.
The Labor Department on Thursday reported 884,000 first-time filings for unemployment insurance, compared with 850,000 expected by economists surveyed by Dow Jones. The total was unchanged from the previous week.
Of course it is always important to look at the non-adjusted numbers, and according to those numbers we actually saw an increase over the previous week…
The Labor Department changed its methodology in how it seasonally adjusts the numbers, so the past two weeks’ totals are not directly comparable to the reports from earlier in the pandemic. Claims not adjusted for seasonal factors totaled 857,148, an increase of 20,140 from the previous week.
This is the second week in a row that the non-seasonally adjusted initial claims have risen.
That definitely wasn’t supposed to happen.
We are supposedly in a “recovery” right now, and things are supposed to be getting better.
But instead they appear to be getting worse. According to Wolf Richter, continuing claims under all state and federal programs were way up last week…
Total continued claims for unemployment insurance (UI) under all state and federal programs rose by 380,000, to 29.6 million people (not seasonally adjusted), the highest since August 1, according to the Department of Labor this morning. This was the second weekly increase in a row, after the 2.2-million jump last week.
At any other time in American history, the numbers that were just reported would be considered “catastrophic”, but we have been getting these sorts of catastrophic numbers for so long that we have become desensitized to them.
But at least the unemployment numbers are not as bad as they were earlier this year, and other economic figures seem to have hit a bit of a plateau as well.
So for the moment there is relative calm, but it won’t last for very long.
If you feel like something really, really bad is about to happen, you are definitely not alone. There are countless others that are also waiting for “the other shoe to drop”, and I believe that it could literally happen at any time.
But for now we wait.
I would encourage you to enjoy these remaining days of summer while you still can. This weekend, put some burgers on the grill and enjoy some time with your family. Unfortunately, there are many Americans that are under such financial stress that it is hard to enjoy much of anything right now. In fact, one recent survey found that 50 percent or more of the households in some of our largest cities are currently facing “serious financial problems”…
There’s no question the coronavirus pandemic has forced many Americans into financial hardship, but a new NPR/Harvard T.H. Chan School of Public Health/Robert Wood Johnson Foundation survey provided a clearer picture of the extent of the struggles in the United States’ four largest cities.
At least half of all households in those cities — 53 percent in New York City, 56 percent in Los Angeles, 50 percent in Chicago, and 63 percent in Houston — reported facing serious financial problems, including depleted savings, problems paying credit card bills, and affording medical bills.
How can that be possible if we are in the midst of a tremendous “recovery”?
Of course the truth is that we aren’t in any sort of a recovery, but at least things are a whole lot better than they will be after the upcoming election.
I had such an ominous feeling coming into 2020, and I shared this repeatedly with my readers, and now I have such an ominous feeling about the rest of 2020 and beyond.
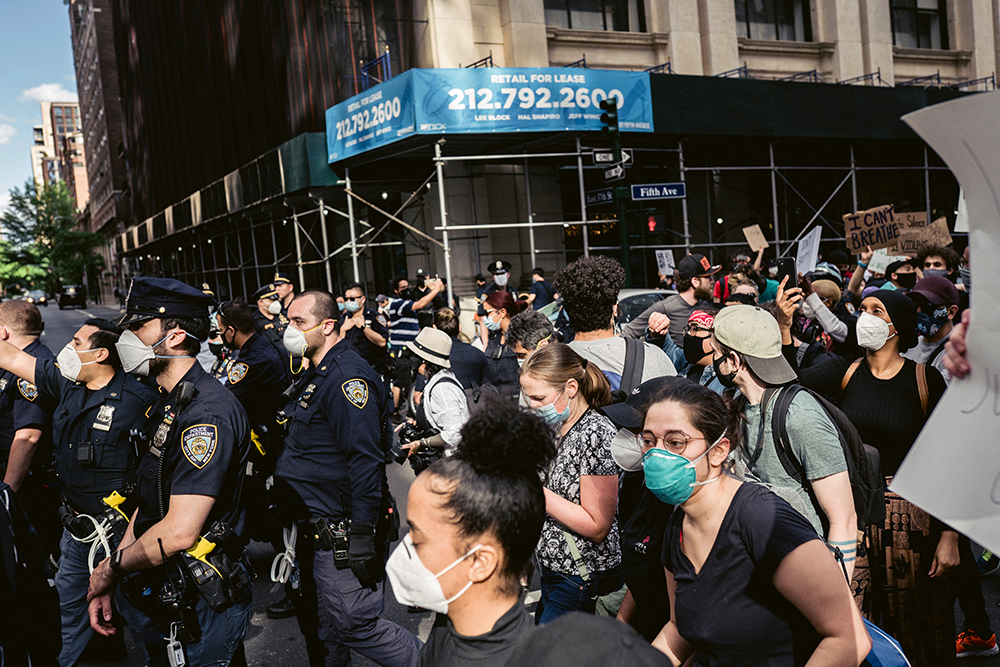
In particular, I am extremely concerned about what will happen in November. No matter who is ultimately declared the winner, the other side is going to be convinced that the election was stolen from them and that is likely to throw our nation into a state of chaos.
And we are already being told that we probably will not know the winner until long after election day. That period of uncertainty is almost certainly going to spark more civil unrest, and I believe that faith in the integrity of our elections will be greatly shaken.
Before I end this article, there is one more thing that I wanted to mention that I found to be extremely interesting. This year the Federal Reserve has been buying up mortgage bonds worth hundreds of millions of dollars, and according to Mish Shedlock the Fed now owns nearly a third of that entire market…
- The Fed has snapped up $1 trillion of mortgage bonds since March. It bought around $300 billion of the bonds in each of March and April, and since then has been buying about $100 billion a month.
- The Fed now owns almost a third of bonds backed by home loans in the U.S.
- Buying the securities has pushed mortgage rates lower, with the average 30-year rate falling to 2.91% as of last week from 3.3% in early February.
- Morgan Stanley analysts pointed out in late March that the buying was running at eight times the pace seen in prior episodes of Fed purchasing under programs known as quantitative easing.
No matter who wins the election, the direction of the Fed is not going to change. They are going to continue to engage in exceedingly reckless manipulation of the markets, and that is going to have very serious long-term implications.
All around us, we can see our society being thrown into convulsions as all of our systems begin to fail.
I know that so many of you out there are feeling the exact same way that I am.
A sense of anticipation hangs in the air, and millions of people are waiting for the next big crisis to erupt.
***Michael’s new book entitled “Lost Prophecies Of The Future Of America” is now available in paperback and for the Kindle on Amazon.com.***

About the Author: My name is Michael Snyder and my brand new book entitled “Lost Prophecies Of The Future Of America” is now available on Amazon.com. By purchasing the book you help to support the work that my wife and I are doing, and by giving it to others you help to multiply the impact that we are having on people all over the globe. I have published thousands of articles on The Economic Collapse Blog, End Of The American Dream and The Most Important News, and the articles that I publish on those sites are republished on dozens of other prominent websites all over the globe. I always freely and happily allow others to republish my articles on their own websites, but I also ask that they include this “About the Author” section with each article. In addition to my new book, I have written four others that are available on Amazon.com including The Beginning Of The End, Get Prepared Now, and Living A Life That Really Matters. (#CommissionsEarned) The material contained in this article is for general information purposes only, and readers should consult licensed professionals before making any legal, business, financial or health decisions. I encourage you to follow me on social media on Facebook and Twitter, and any way that you can share these articles with others is a great help. During these very challenging times, people will need hope more than ever before, and it is our goal to share the gospel of Jesus Christ with as many people as we possibly can.
The post If You Feel Like Something Really, Really Bad Is About To Happen, You Are Definitely Not Alone appeared first on The Economic Collapse.


 (@wildfirebushcraft)