No products in the cart.
Winter Survival Kit: The Prepper’s Guide To Winter Survival

Survive the harsh winter with our comprehensive list of winter survival tips to thrive in the cold.
RELATED: Total Whiteout | A Compilation Of Winter Storm Survival Tips
In this article:
- Learning Winter Survival to Prep the Proper Winter Survival Kit
- Winter Survival Kit | Emergency Kit List
- Priorities for Your Winter Survival Kit
- Stocking Your Winter Survival Kit or Bug Out Bag
- Include a Fire-Building Kit in Your Winter Survival Kit
- Winter Survival Kit Tool for Building a Shelter
- Staying Hydrated
- Signaling for Help
- Finding Food
- Building Traps and Snares
- Tools and Weapons to Pack in Your Winter Survival Kit
- Consider Safety When Prepping Your Winter Survival Kit
Winter Survival Kit | The Ultimate Checklist
Learning Winter Survival to Prep the Proper Winter Survival Kit
Why do many people fail with winter survival skills? When we think of “survival,” we immediately imagine activities perfect for warm weather.
These can include camping, fishing, hiking — the list goes on because most of us are more comfortable in warmer weather, of course. So, it’s not surprising we tend to practice or hone our survival skills during the summer.
This practice can be a dangerous and even deadly mistake when emergencies happen during winter. You may not have the right winter survival techniques and proper winter camping gear.
Want to learn more? Click here to download our complete guide to winter survival.
We cannot overstate the importance of winter camping kit and survival tips. Even the most basic of survival tasks can be more challenging when there’s cold temperature, snow, ice, and strong winds.
For this reason, we’ve put together your ultimate winter survival kit. It can help prepare yourself during the harsh, cold months.
Winter Survival Kit | Emergency Kit List
Since your survival needs will change depending on the season, it’s a good idea to pack a separate bug out bag for winter. This bag includes the essentials fit for the cold:
- Modern fire starters
- Folding saw
- Reflector blankets
- Hand and body warmers
- Metal cups
- Ice fishing supplies
- Wool socks
- Long underwear
- Ski mask and goggles
- Insulated water bottle
- Shovel
- Cold weather sleeping bag
Click here for more winter bug out essentials.
Priorities for Your Winter Survival Kit
In any survival situation — no matter the season — the most crucial step is to stay calm. This will enable you to think clearly.
You can make rational decisions to keep you alive. No matter how grim the outlook may be, try your best not to panic.
Once you have the time to organize your thoughts, here are the winter survival priorities:
1. Warmth
Despite popular belief, your first priority in a stressful situation is not food or water. It should be the best survival tent or shelter.
This is especially true in the winter months. Exposure to the elements even for a few minutes can be dangerous.
You can develop hypothermia. Before you do anything else, make sure you have adequate winter survival tents and shelters.
You should also have a fire to maintain your body’s much-needed warmth. After these, you can start looking for food, water, and other survival essentials.
2. Water
After shelter, water is the most pressing need. A person can survive a month or more without food. You can only go for three days without water (remember the survival rule of threes).
Keep in mind, drinking cold water or eating snow in winter will cause your body to burn a lot of calories, which your body desperately needs to stay alive. In a winter survival situation, always heat up the water before drinking it.
3. Signaling for Help
It is important to exert all efforts to get the attention of your rescuers, especially in the first three days. You can learn how to signal for help in the wilderness.
Know, too, the different emergency communications using light, fire, and smoke.
4. Food
Of course, your bug out bag should have MREs (meals, ready to eat) and other winter survival food items. Even so, make an effort to get food from other means.
Familiarize yourself with edible plants in the area. Learn to make traps and snares to obtain animals for food.
5. Tools and Weapons
Again, your bug out bag must come with a few basic survival tools. In addition, you should know how to make your own tools from the materials readily available to you.
Stocking Your Winter Survival Kit or Bug Out Bag
Having a well-stocked bug out bag is crucial, especially in the winter. The harsh elements can make it even harder to survive, let alone stay comfortable.
Your winter bug out bag should contain plenty of food, water, and matches. It must also have at least two high-quality knives and tools.
You may also need materials to build survival shelters, such as cordage. It should also have some tool for purifying water and warm winter survival gear.
The bag must include items you can use to signal for help. Your bug out bag should also include a first aid kit with all the necessary supplies to treat common ailments or preexisting illness or injury you may have.
Include a Fire-Building Kit in Your Winter Survival Kit
Building a fire is the single most important winter survival skill you can possess. Without it, you are unlikely to thrive longer than a few hours.
Here are the basic steps for building a fire in the winter:
1. Find Wood
Remember that wet wood won’t burn. It’s a waste of time to dig in the snow for wood buried underneath. Instead, look for fallen and downed branches and twigs on top of the snow.
2. Make Kindling
Carve dry the wood by breaking it apart and gathering the inner splinters. Use these small pieces as kindling for your fire.
3. Fuel the Fire
Once you have a flame, feed it with fuelwood. Dead limbs off standing trees work best, especially if they come from broad-leaf hardwood trees such as birch, dogwood, or maple.
Winter Survival Kit Tool for Building a Shelter
The type of winter survival shelter you need will depend on your situation. If you find yourself inside a vehicle, it is almost always preferable to stay put in your vehicle until help arrives.
Hopefully, you also have a car winter survival kit. If you’re not in a vehicle, use whatever materials you can find to construct a winter survival tent to protect yourself from the elements.
Keep an eye out for caves or rock overhangs. These can make for great survival shelters.
You can also dig into a snowdrift to create a makeshift “snow cave.” These are a few ways to find or create shelter in the winter.
RELATED: 13 Winter Survival Methods To Keep You Warm
Staying Hydrated
Aside from shelter, water is the most crucial thing to focus on in a survival situation. Fortunately, winter often means there is water readily available in the form of snow and ice.
After melting the snow or ice into water, heat it up before you drink it. Drinking cold water in the winter will make you colder.
It will cause your body to expend more calories. This is where a metal pot or cup comes in handy. You can heat it on an open flame safely.
You should also carry a water purification system. It can be LifeStraw or iodine tablets. They can help ensure your water is pure and free of bacteria.
Signaling for Help
The difficulty of finding a lost or stranded hiker can become even greater in the winter. The glare off the snow can cause decreased visibility.
The elements can make it challenging for others to get to you. If you plan on venturing out in the winter, always leave a detailed itinerary behind.
This way, rescuers will know where to look for you. It’s also important you stay put.
It may be tempting to strike out in search of help. Rescuers, though, are more likely to find you fast if you stay near your camp.
Use fire, smoke, reflective blankets, signal flares, and other methods to call attention to yourself.
Finding Food
Aside from the winter survival food in your bug out bag, your main source of food will be edible plants and animals. Learn more about the local plants.
Know the difference between edible and poisonous ones. In winter, look out for plants like aspen, birch, cattails, maple, pine, rose, and willows.
They have a variety of survival uses. In addition, develop your skills on how to hunt, build snare traps, and ice fish. These will help you acquire your much-needed animal protein.
Building Traps and Snares
A snare trap is the simplest, most effective way to hunt game in the winter. This loop of wire or cordage suspends an animal into the air or restrains it from movement.
Using a snare trap will save you time and energy that you would have spent hunting. Click here for our list of snare traps and how to make them.
Tools and Weapons to Pack in Your Winter Survival Kit
Tools and weapons will be lifesavers in a winter survival situation. They will help you hunt, prepare food, and build a shelter.
You can craft them from natural materials such as wood and flint. You can also modify your already-existing weapons.
Consider Safety When Prepping Your Winter Survival Kit
One of the best tips for winter survival is to always be aware of their surroundings. This season poses several unique threats. Here are a few things to consider when packing your winter survival gear:
1. Cotton Kills
Once you get cotton wet, it’s no longer able to keep you warm. Opt for a warmer fabric such as wool.
2. Prevent Hypothermia
Wear proper clothing, stay dry, and wear a hat. Also, stay out of the wind, build a fire, stay active, and eat energy-rich food.
These are only a few ways you can do to prevent hypothermia.
3. Identify and Treat Frostbite
Frostbite symptoms include cold and “tingly” ears, nose, fingers, and toes. You may also have numbness in the extremities.
The skin may be waxy or stiff and it can limit joint movement. For mild frostbite, warm the area with skin-to-skin contact for 15 minutes.
For superficial frostbite, splint and cover the affected area. You can then loosen clothing and seek medical attention.
In the case of deep frostbite, rescue and evacuation are the only cure.
Check out these simple winter survival tips from RoastedEngineers:
Winter survival needs a unique set of skills, situational awareness, and preparedness. These winter weather tips are only scratching the surface.
This article, though, can provide you with a good foundation to thrive during colder days.
Do you have cold weather survival tips? Share them in the comments section below!
Up Next:
- Lost In The Woods 101: What To Do When Lost In The Woods
- Beyond The Freezing Point | Cold Weather Survival Tips
- Winter Survival | What To Do When The Heat Goes Out
Go to our Survival Life Store to shop some of our favorites self-defense tools and gear!

Follow us on Facebook, Instagram, Twitter, Pinterest, and Tumblr!
***Disclaimer: The contents of this article are for informational purposes only. Please read our full disclaimer.***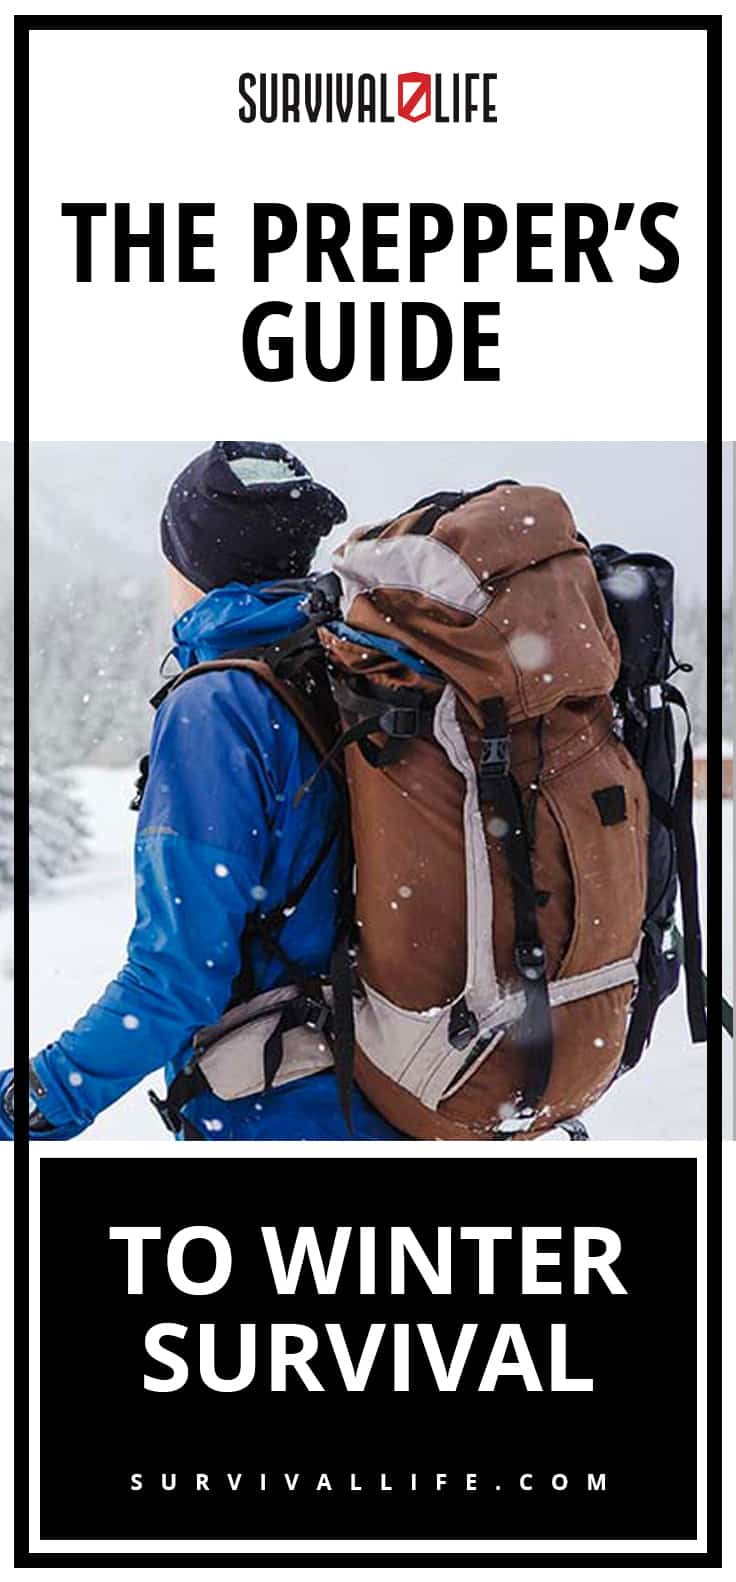
Editor’s Note: This article was originally published on December 2, 2016, and has been updated for quality and relevancy.
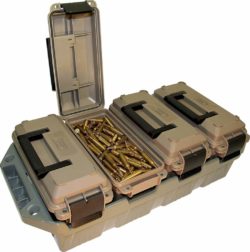
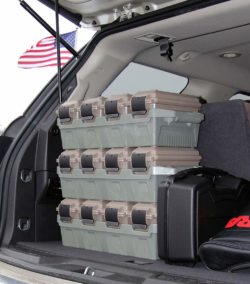
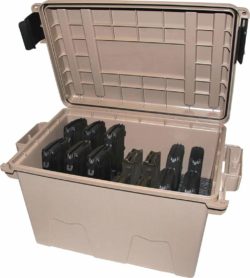
 Anyone who has a stockpile of ammunition owes it to themselves to invest in some quality organization tools. I’m talking about investing in some ammo cans, ammo crates, or ammo boxes.
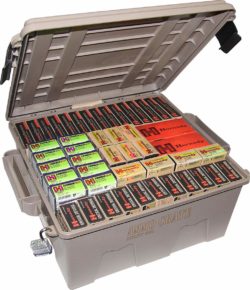