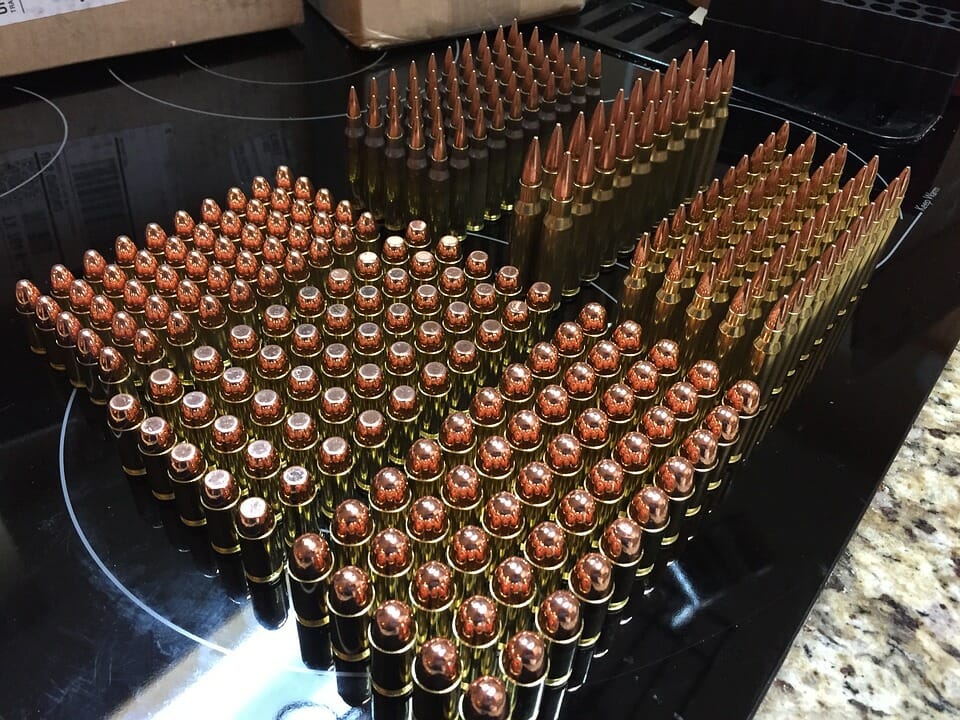
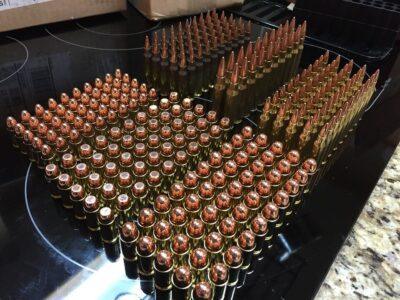
Are you stockpiling ammo?
Amongst all the critical supplies that survivalists stockpile, there is nothing more controversial than ammunition.
When it comes to food and water, you never hear someone saying, “That’s too much.” But you can hear that with ammo. You can also hear a lot of people spouting off about how you need 10,000 rounds, without a whole lot of justification for it.
Part of the problem, as with everything else in preparing for an uncertain future, is that none of us really know what we need. We’re trying to define how much inventory to invest in, without really thinking it through and determining how we’ll use it. In order to fully understand how much ammo we need, we also need to develop a plan for how we will use our firearms.
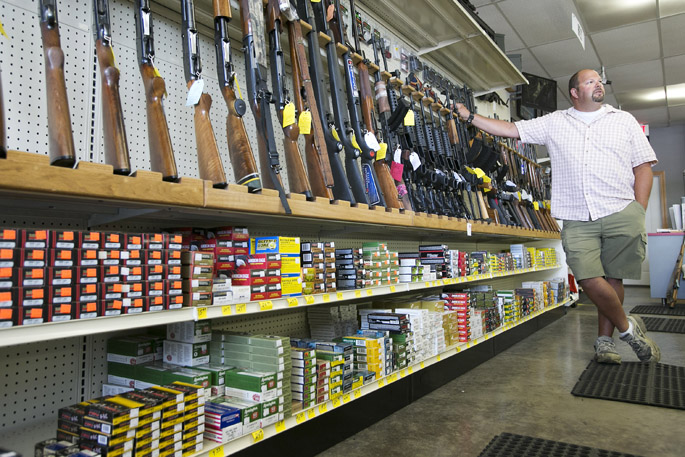
Of course, there are many preppers who have made a life out of collecting firearms, too. While I can fully understand the fascination with guns and the desire to have lots of them, I can’t really say that buying the largest gun safe you can find and filling it up with guns is really a necessity.
How Much Is Enough When Stockpiling Ammo?
So, let’s start out by talking about how many guns is enough. We need to determine that in order to know how much ammo we’ll need for those guns. There are two basic purposes for which you’ll need guns in any disaster situation. They are:
Everything You’ve Heard About Stockpiling Ammo Is Wrong
You need to decide what sorts of guns you’re going to have on-hand for each of those purposes. In some cases, you may decide that you can use a gun for both purposes. A great example of this would be an AR-15. You could use that for both defense and hunting. If you have it chambered for .223 and buy a .22 long rifle adapter kit for it (new bolt and magazine), you could even use it for hunting.
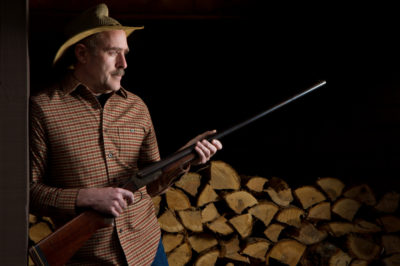
Likewise, a shotgun can be used for both purposes, although you are limited in range with a shotgun. Nevertheless, the actual gun that each member of your party is going to use in a survival situation should be decided. Those are the guns they should practice with and those are the guns you need to concern yourself about stockpiling ammo for.
Each member of your party needs a long gun (rifle or shotgun) and a pistol. As one firearm instructor so aptly put it, “A pistol is what you use to fight with, while you’re making your way to your rifle.” The idea here is that the pistol is always on your person, while you might be forced to put the rifle down, in order to accomplish some tasks.
If each family member is a shooter (and they should be), then you need one long gun and one pistol for each.
Now, on to Ammo

Almost every gun owner has some kind of stockpiled ammo
If you have more guns than those mentioned above, then the amount of ammo that you have for the “extra” guns doesn’t really matter. You’ve already decided which guns you’re going to use, so those guns will only be used if a straggler joins your party or you break or lose one of your primary firearms.
We’re going to look at the two uses of those guns separately, specifically in the sense of determining how much we need when stockpiling ammo and then add them together. Keep in mind that you don’t need hunting ammo for a gun that’s not going to be used for hunting. That would just be extra ammo and an extra expense.
Defensive Ammo
Home defense is where people really go crazy on ammunition purchases. But is that realistic? When infantry soldiers go off to battle, they carry what is known as a “basic combat load.” That’s the amount of ammo that they are expected to use in one day’s fighting. Do you really think you’re going to use more ammo than an infantry soldier?
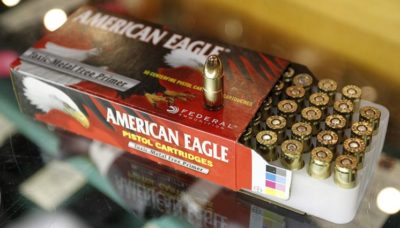
The basic load of rifle ammunition for an infantry soldier is 210 rounds. That’s seven, 30-round magazines. One is in their rifle and the others are in ammo pouches on their chest rig. For those who carry a pistol (usually rear area troops and upper level officers), they carry three magazines’ worth. You should have ammo for both, as you should be carrying both.
Okay, so if we use that as a basis, then how many basic loads of ammo do you need? This is subject to argument, but I seriously doubt that any of us are going to use more than two. If you survive through that much fighting, you’re amazing. Most of us will probably die long before we reach that point.
The other issue here is portability. Ammo is heavy. If you’re “bugging out,” you probably won’t be able to take more than two basic loads with you — one on your person and another in your vehicle. Once again, if you survive through that much fighting, you’re simply amazing.
Hunting Ammo
We could actually end up using more ammo for hunting than we will for defense, in some situations. A lot will depend on your specific survival plans. If you are planning on staying in your home during a crisis, you’re probably not going to use a lot of ammo hunting. But if you are planning on living off the land, in some cabin in the woods, then you may actually go through a lot of ammo. But there are few who fall into that category.
The only way that hunting will be a realistic possibility for most of us is if we live someplace where we have woods within walking distance of our home. Otherwise, without gasoline, we probably won’t be able to go hunting at all.

Everything You’ve Heard About Stockpiling Ammo Is Wrong
Now, the next question is how much ammo do you use hunting? When I go, that’s limited to two or three rounds, maybe only one. Unless I’m bird hunting, when I might actually use as many as six. So, you really don’t need a lot of rounds of ammo for each hunting trip.
Start by figuring out your worst-case scenario for how long you’re expecting to be in survival mode. Based on that, how often will you go hunting? Let’s say two or three times per week. So, if you’re using three rounds of ammo per hunt and hunting three times per week, you’re going to need an absolute maximum of 365 rounds of ammo to survive a year. I bet it will actually be much less than that.
Putting it Together
Okay, so let’s put this all together. As an example, let’s say you’ve got an AR-15, which is your primary defense and hunting weapon, and you’re carrying a 9mm Glock as your sidearm. Two basic loads of ammo for your AR-15 is 420 rounds. Plus a year’s worth of hunting at a maximum of 365 rounds. That makes a total of 785 rounds. Then you need 102 rounds of 9mm for the two basic loads to fill the three magazines for your Glock.
For people in your family who are not going to be hunting, you can forget about the ammo for them to hunt. They’ll only need the two basic loads. That’s a whole lot less ammo than you need. For that matter, if you have others who do hunt, then you won’t have to hunt as much, so you’re still looking at only 365 rounds to take care of the year.
This means that for a family of four, all of whom are shooters, you need 2,453 total rounds of ammunition for rifles and pistols, in order to be ready to survive for a year. That’s a far cry from the 10,000 rounds that a lot of people are saying.
Of course, if having that 10,000 rounds gives you a warm fuzzy feeling, then buy them, assuming you have enough money for that much. But don’t feel like you have to, just because someone set up an arbitrary number and a lot of others have repeated it.
Keep in mind that these figures are only for surviving. They do not include anything for training. That’s another issue entirely. You can go through a lot of ammo learning to shoot. But then, those aren’t rounds that you need to stockpile for survival; those are rounds that you’d better expend before it becomes time to survive, or you’re going to be in a world of hurt.
Do you agree or disagree on stockpiling ammo? How much ammo should you stockpile? Share your thoughts in the section below:
The post Everything You’ve Heard About Stockpiling Ammo Is Wrong appeared first on Off The Grid News.


 Sometimes, yes. But it’s never guaranteed that an intruder is going to be stopped dead in their tracks with a single slug or buckshot in their gut. If an attacker is high on drugs, there’s a significantly higher chance that you’ll have to rack in another round and fire again. Take note: Use a semi-auto or pump-action shotgun rather than a single or double barrel.